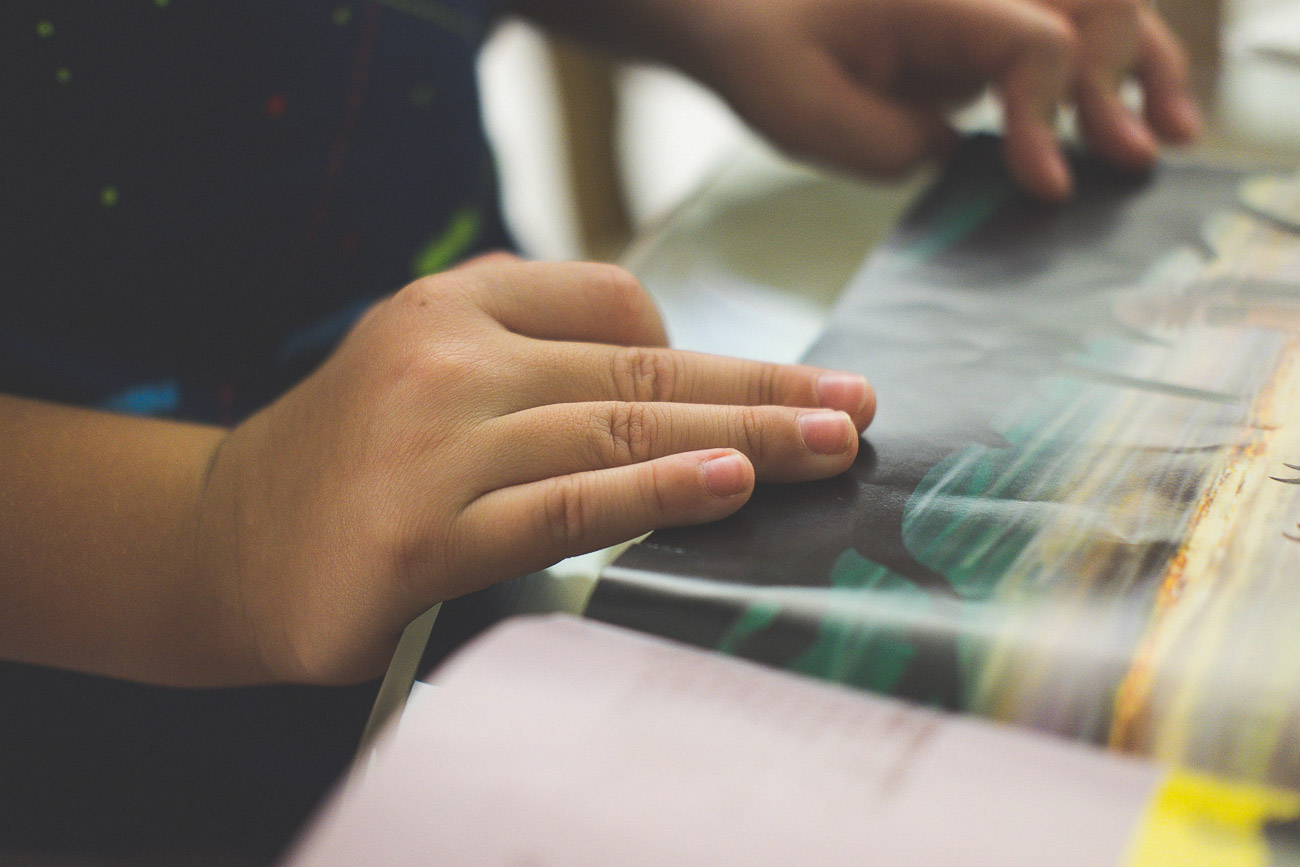
Captured with the Fuji X-T1 and Fujinon 35mm F/2 R WR
As the days get shorter and light go aways my eyes wander in different directions. I’m always viewing my surroundings, scoping the scenes, always looking to make a picture or tell a story∗

Captured with the Fuji X-T1 and Fujinon 35mm F/2 R WR
As the days get shorter and light go aways my eyes wander in different directions. I’m always viewing my surroundings, scoping the scenes, always looking to make a picture or tell a story∗


Well it’s official, the holiday season has begun and with that all the ornaments are starting to resurface around the house. The Christmas tree is out, somehow this year with less decorative balls and less lights but still gallantly hanging in there.

Getting my feet wet again with street photography and testing the autofocus of the Fujinon 35mm f/2 R WR. The lens snaps into focus instantly with no delay whatsoever. Its worth mentioning that the aperture ring on this lens has the perfect amount feel to it, its the best of any Fuji XF lens I’ve ever used. It’s not to easy to turn but not to hard, it’s just the right amount of tactile feel. Couple these features with no lens shatter and it being weather resistant and amazing sharpness and I suspect this 35mm is well on the way of being another Fuji classic. How about that for a Fujinon 35mm (EFOV 50mm) lens combination!

The new Fujinon XF 35mm F2.0 WR is Fuji’s latest addition to its lens line up. The past rumors proved to be right after all and Fuji decided to make a sharp super fast focusing 35mm lens but this time F2.0 and weather resistant (WR). I don’t believe this new lens replaces what many already consider to be a classic, the highly esteemed and already well proven Fujinnon XF 35mm 1.4R, but on the contrary, compliments the Fujinon lens lineup for different photography applications. Read More
Another year has come and gone in a blink of an eye. So many things happened this year that its hard for me to even begin to recall all of them.
Photographyically speaking, it was a rather slow year for me. I looked back at some of the post from this year and selected my favorite. Again, I must say that the Fujifilm X-series never cease to amaze me. I had the opportunity to shoot some projects full frame (un posted here though) and I can say the differences between Fujifilm X-series and full sensor camera are definitely reducing more and more.

Havana Club (7 years) in hand (its legal to walk and drink on the streets of Cuba) and cruising the streets of La Habana. Life is good as the commercial says.
As I did my thing through the streets I couldn’t help but think of the stark contrast between my home and my in-law’s but for some reason the differences disappear as you meet the people on the streets and conversations are started over Mojitos, Daiquiris, and Bucanero.


Time flew, it was a short flight of only 40 minutes from Miami and in a blink of an eye we arrived in Boyero, Cuba (location of the Jose Marti Airport). From here we took a cab to La Habana, Cuba’s capital city, and the adventures began.
At first, it was a huge culture shock but then I quickly realized just how special La Habana really is. La Habana is a beautiful city trapped in a time capsule but nonetheless it exudes a unique beauty that in my opinion can only be appreciated with your own eyes. Its for sure a one of the “must see” cities in the world. Read More

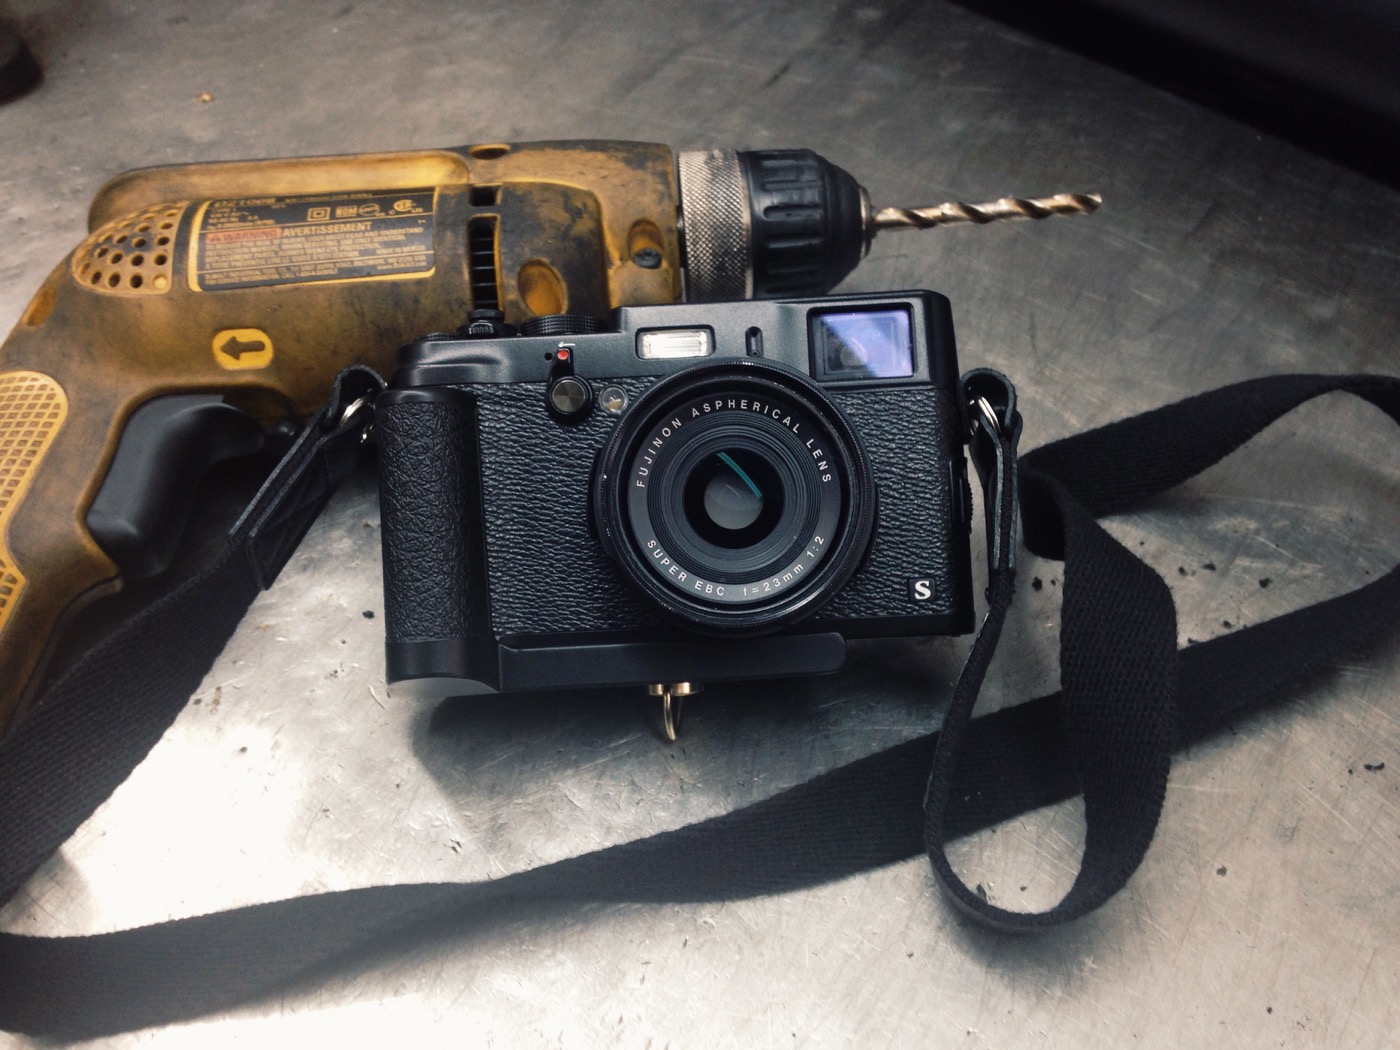
I’ve been under the radar for a little, too much going, and life just keeps rolling on but today I wanted to share with you a little modification to help you with your X100/s experience. While browsing for X100s images on Flickr (something I do sometimes while I’m in bed) and I bumped into this image from a photographer named Jonni Armani and I was instantly awe struck. “Oh my,” I told myself, if I could pull this of it will be amazing. Luckily, Jonni had also published a youtube video which talks about the basics on how to go about doing this modification. I suggest you watch a few times.
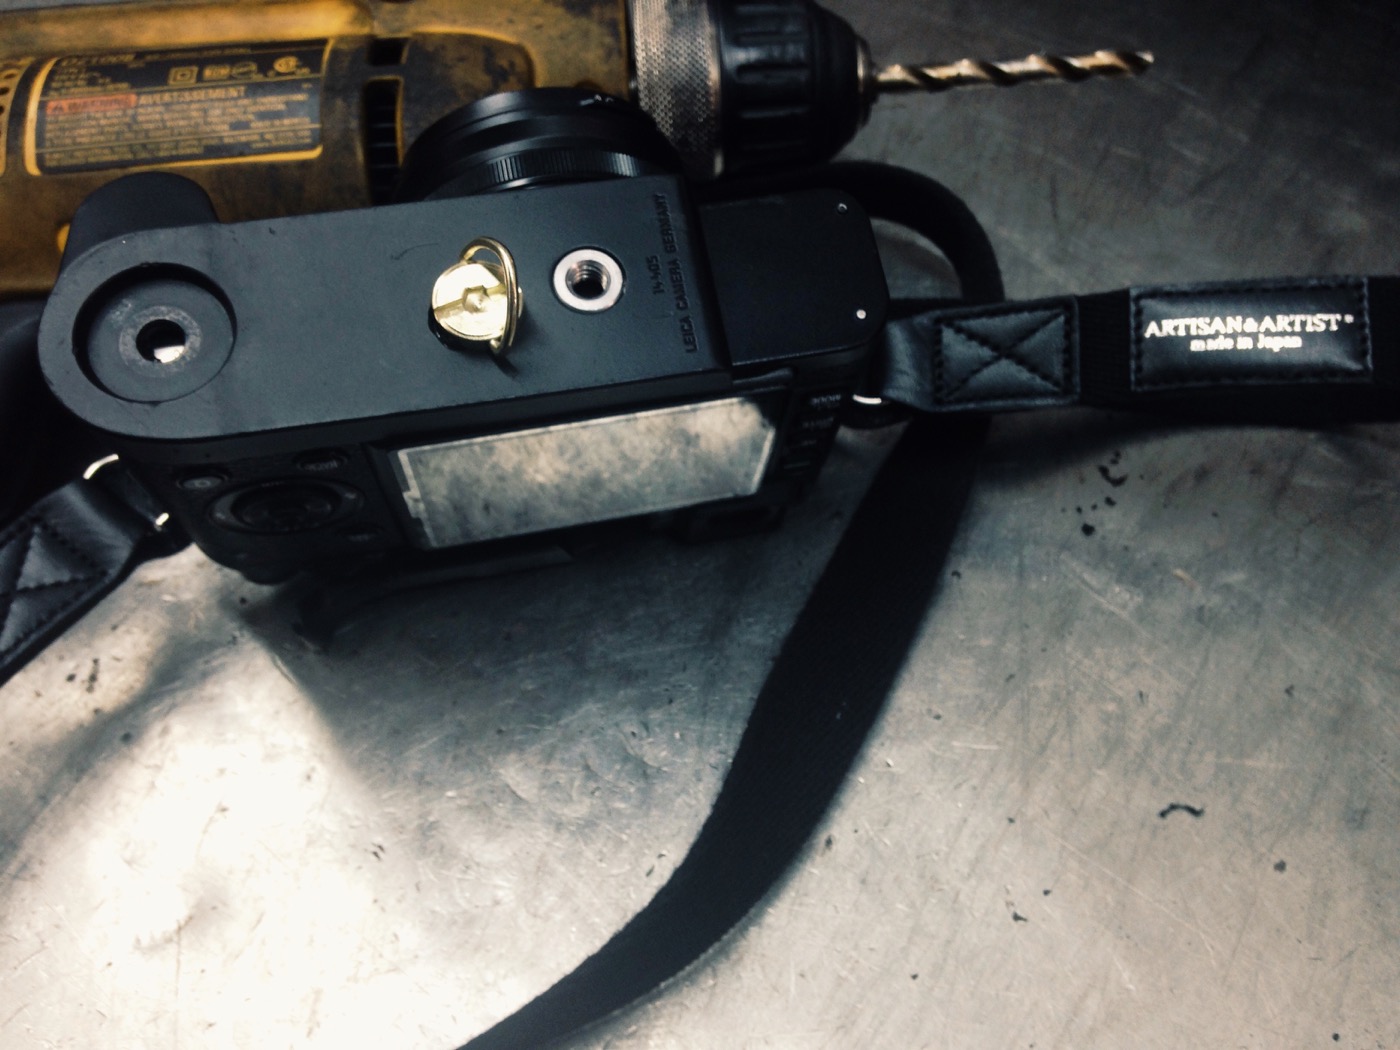
So off to eBay, to find the proper Leica grip. Jonni made a slight mistake on his video in referencing which Leica grip to buy but I quickly realized he meant to say the Leica M Grip 14405. So make sure, its an original Leica grip, there are quite a few knock of that you will surely want to stay way from. I quickly found one that was displayed on a Leica M6 and made the purchased.
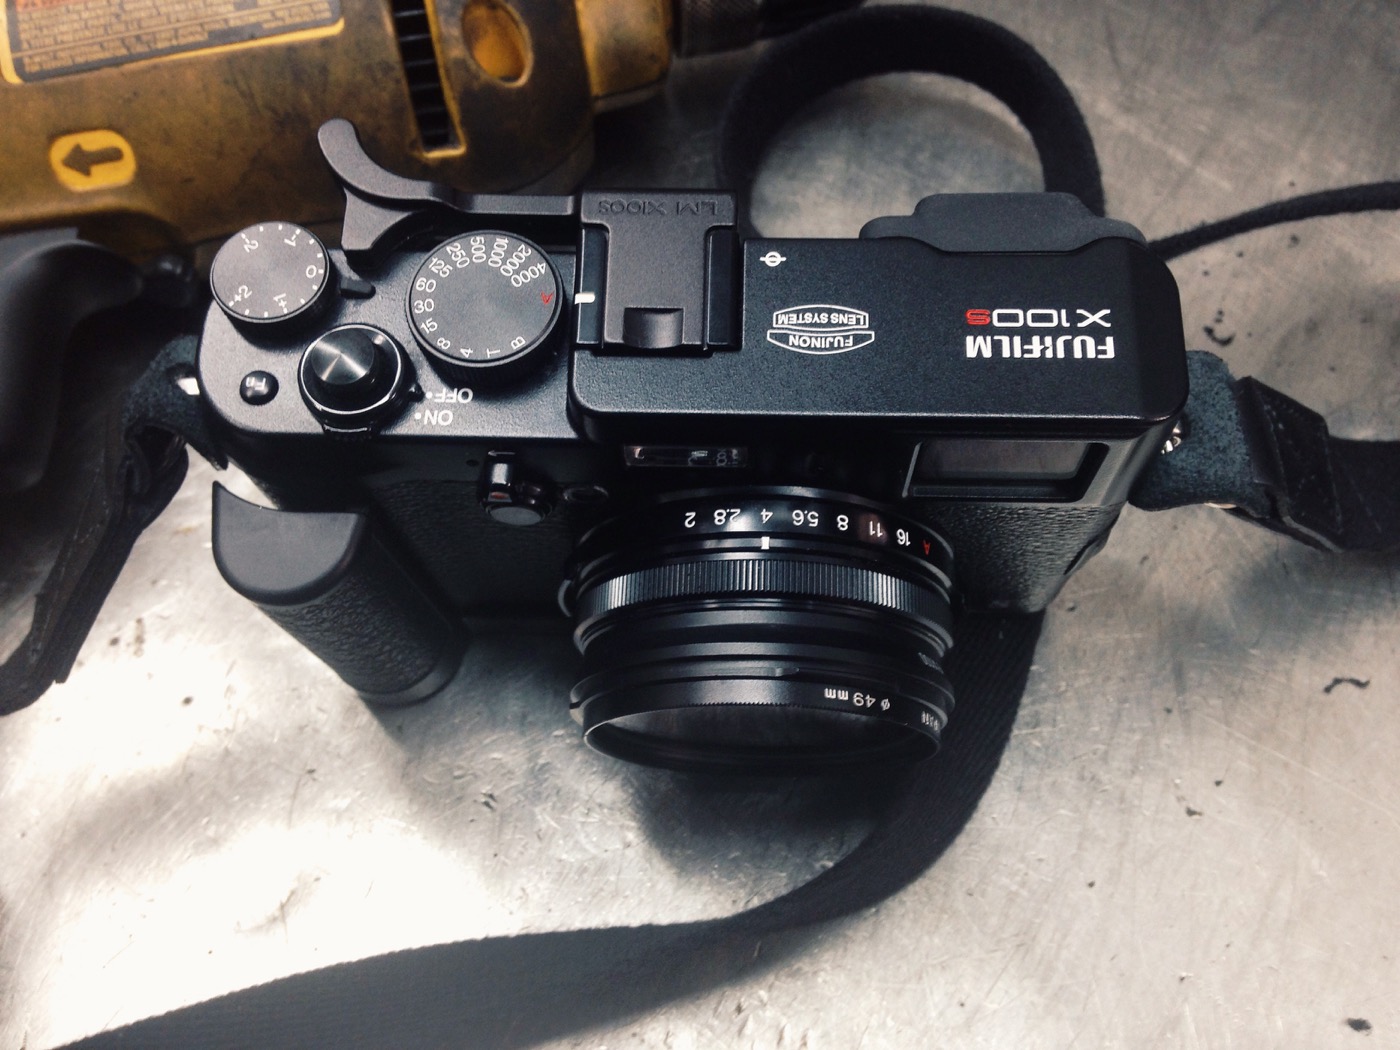
Ok, the Leica Grip arrived and it was perfect. Here are some additional tips which Jonni didn’t really go into on his video as he just mentioned his experience all of matter of fact but there are some things to know, questions I asked myself but I figured I could pull it of.
Guys, it may seem like chock full but trust me its worth every penny. My X100s now feels great to hold, its a night and day difference. If you’ve ever used the X-E2 or X-Pro 1 (I have) with the original Fuji grips then you’ll know exactly how it feels, just right and a lot easier to hold as it adds a little bit of depth to the camera thus making your grip a lot more comfortable. I had always been a little jealous of the Leica Grips as they seemed to provide quite a good hold like this one a Leica X2 (note: this is not the grip you need to buy, its a Leica M Grip 14405) and now thanks to this DIY modification my X100s has a new lease on life.
I have both (in black as well) and they feel awesome, triple awesome, as the grip helps even more than the thumb grip in balancing out the camera, so when you combine both – a thumb grip (mine is a Lensmate) and the Leica grip, its like an apple pie – sweet to the taste buds.
Well, unscrew it, change what you need, and that’s it, its a small price to pay for this level of comfort trust me. I use 16 and 32 gb cards, its really hard to run of out of memory.
I don’t know as I don’t have one and intend on buying one. I already have a similar 3rd party grip with Arca Swiss support that I’ll use when the situation arises. But, I can tell you this, I’m sure its not $75 better than this DIY modification. The Leica grips range from $50-$75, I paid about $46 so I’m happy.
Yes, folks, it looks like Fuji themselves did it, its amazing I tell you.
So there you have it, precise directions on how to do this modification yourself and be on your way to a better experience with our beloved X100 series. Long live the X100 !!
All images captured by the iPhone 5 and processed in VSCO